The bridge project at Liberty Lake Park – Cedar Grove
To view the first installment, click here: Part One
Photo #13: The Mechanical Advantage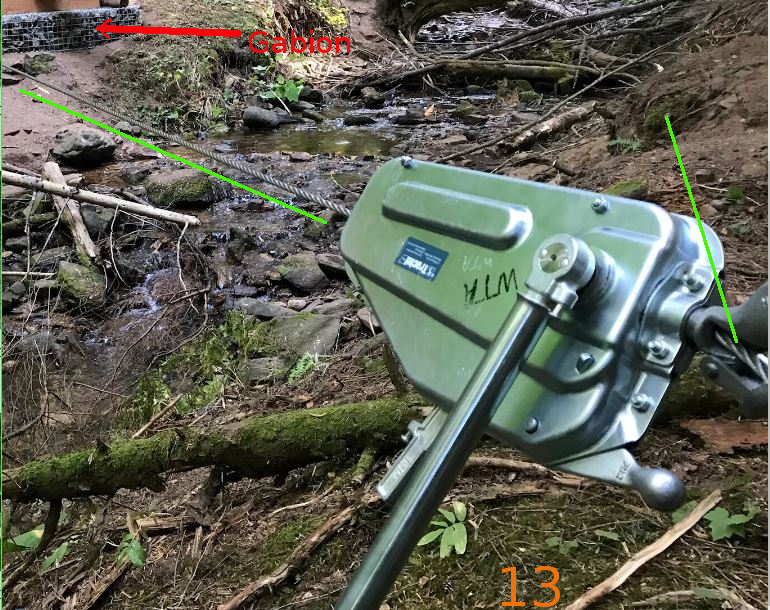 Info about grip hoists, Link
The creek runs from the top to the lower left in the above photo. The red arrow points to the Gabion on the side identified as “near-side” in previous photos. The handle for the grip hoist is extending from the unit down and off the lower edge of the photo.
A thin green line parallels the wire rope running back across the creek to a log. On the right, the green line points to the wire out the back of the unit. Moving the handle causes internal griping of the wire, and it moves through the unit – towards the camera. Not shown is a strap holding the unit to a large tree.
With a movement of the handle end of about 44 inches (¼ circle) the cable is pulled just a couple of inches through the unit. In this case, a log is on the far end of the wire rope, and the log moves toward the unit. This is not a fast process.
Photo #14: The other end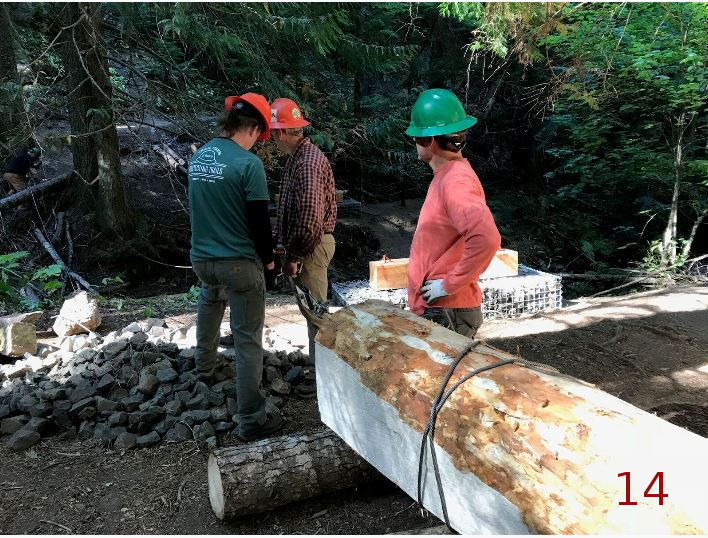
A Logging Choker is wrapped around a log and under tension it tightens on the tree. The wire rope from the far side is attached to the choker. We are good to go. Start cranking.
Occasionally, the end points have to be relocated to achieve a desired direction.
To lift a log, placing rigging in the air is necessary. An extension ladder is used to place “tree huggers” – tough fabric bands.
Photo #15: Getting Airborne
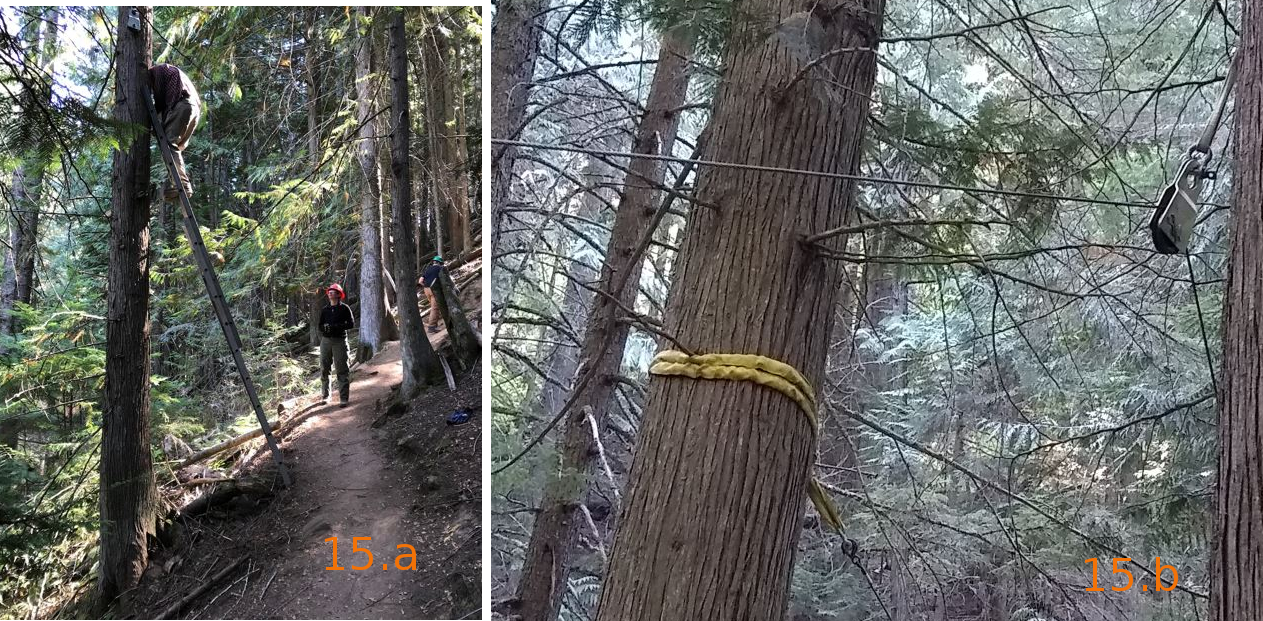 To lift a log, placing rigging in the air is necessary. An extension ladder is used to place “tree huggers” – tough fabric bands.
Photo #16: Watching and calling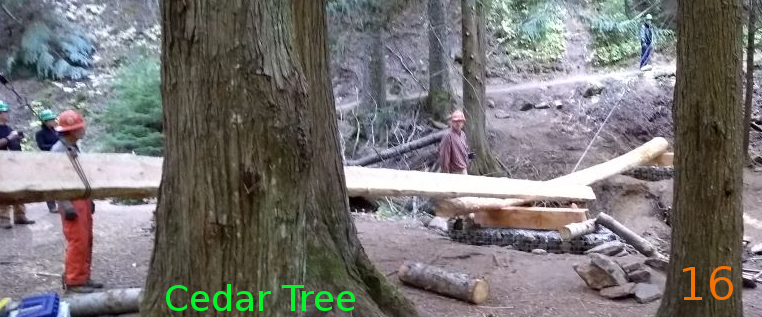
There are grip hoists this side and the other. Watchers are along the length of the intended path. They will call to the hoist operators whether to loosen or tighten the tension. On the far side the operator is up the hillside and cannot see what is happening. The message is passed up by a person on that side.
Photo #17: Moving Forward
 On this end, the callers and the operator can see the movement of the tree. The idea here is to keep the log above the sill but giving slack so the operator on the far side can pull the log across the creek.
The site is a popular destination for hikers, being just over 2 miles from the trailhead. It gets sufficient use that vegetation is gone from the flat area.
Photo #18: View from the far side
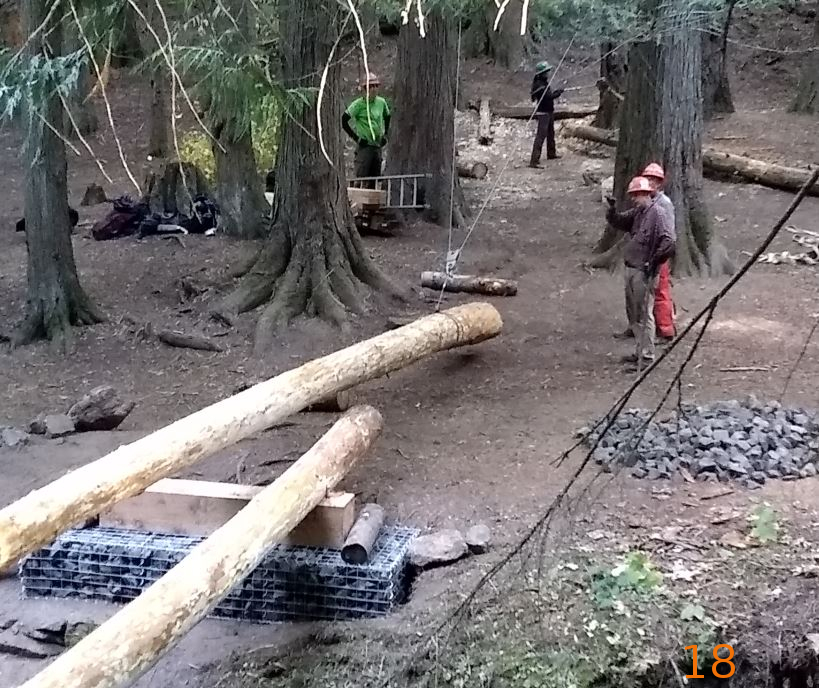 There has been an operator change. This is a learning experience for about half the crew of volunteers. The experienced show the inexperienced, and then step aside.
Alan (closest ‘Orange Hat’) directs the entire operation.
Actually, there are another 7 or 8 folks doing other things, unrelated to the moving of the log.
Photo #19: Over & Down
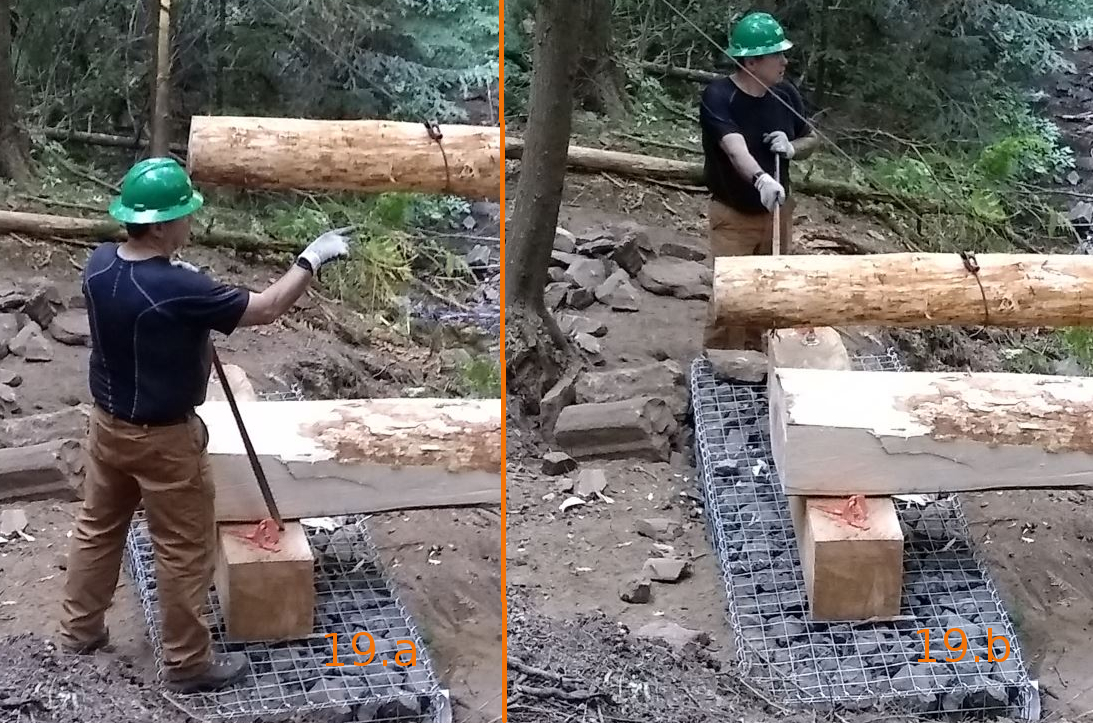 Trees grow in the forest and on the hillside where they want, and not always in the location needed. The rigging doesn’t usually bring the log to exactly where it is wanted. Here, a volunteer watches the log come across, then steps into position to nudge it to the desired resting place on the sill.
Photo #20: What else is happening?
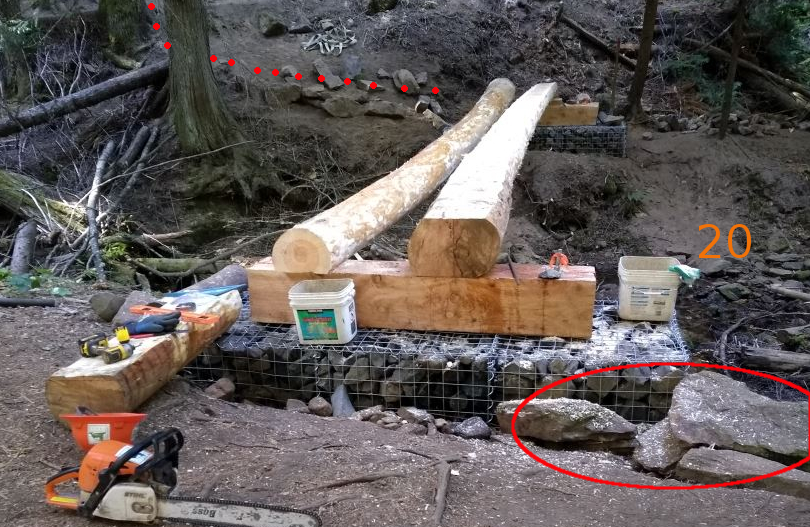 While the log moving and placing is underway, other things are happening.
Note the red dots. The existing trail is off the top of the photo, but the new one will have to come down, turn behind a tree, and end at the level of the top of the logs. Large rocks are hunted, collected off the hillside, and stockpiled over there. A retaining wall will be built. New trail will be created leading to the bridge.
On this side the trail has to be built up to meet the top of the logs. The red oval highlights rocks collected to build a retaining edge for the material of the trail-tread that will fill the large volume of empty space.
To protect the crossing from high water it is built about 6 feet above the stream bed. The old one is just 18 inches up. The consequence of this height is the need for strong rock walls and lots of fill.
Photo #21: Rocks and Logs
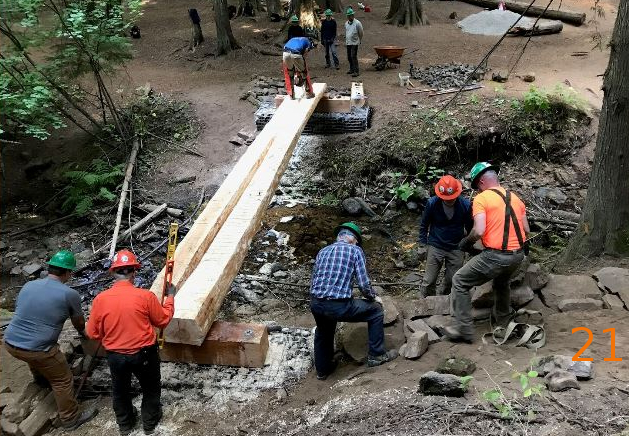 The rock wall is taking shape. Note the rock carrier (of heavy canvas straps) at the feet of the worker with suspenders. Several of the rocks required 6 folks to carry them as much as 100+ feet along the trail to this spot. A guess is the largest weighed over 300 pounds.
A chainsaw is used to trim on the inside of the logs. As material is removed, the logs can be nudged closer, and the space between gets smaller, and the walking surface safer.
Photo #22: Refueling
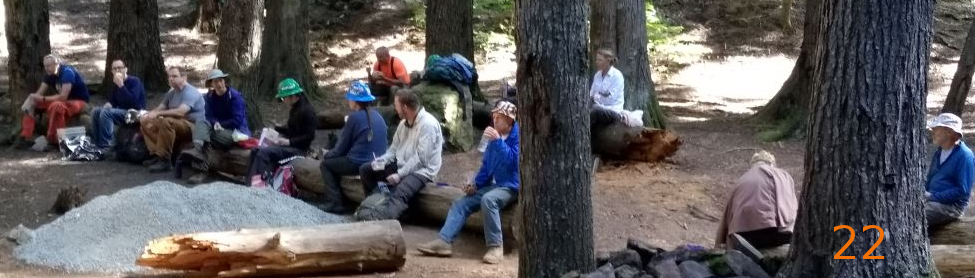 Lunch time. I captured most of them. I think 2 (+me) are missing.
Photo #23: Limbs, logs, brush
 You will have to go back to the beginning to recognize that a lot of things have been removed. Lots of rocks have been added. The main structural parts of the 2-log bridge are in place. Many more hours will be spent putting up a railing and building approaches.
The volunteer on the right side is holding a Peavey; named after Joseph.
Cant Hook or Peavey?
Photo #24: Can the bridge carry a hiker or two?
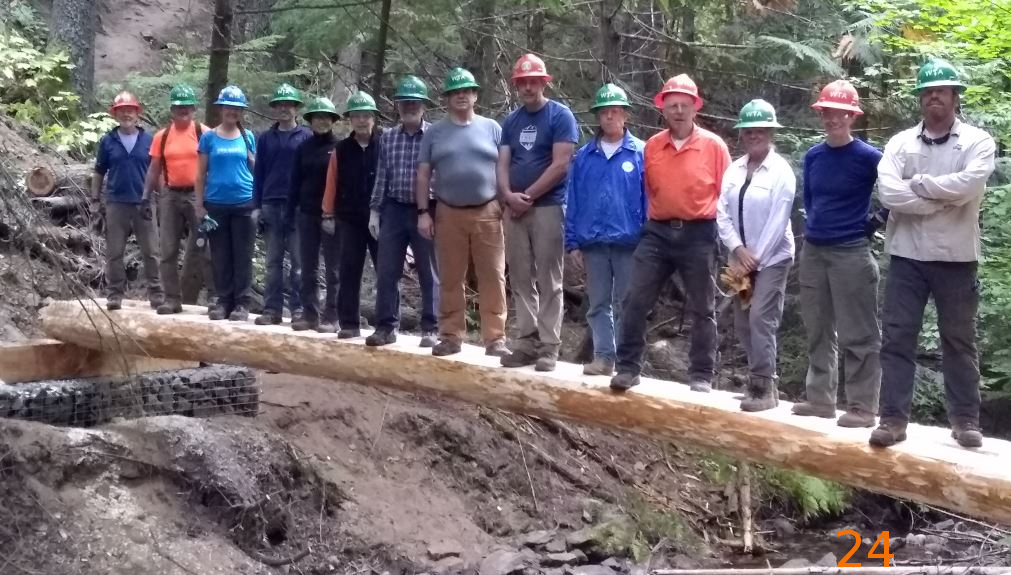 Belinda (photographer) Cron took photos on about 6 cameras. The rest of us, all 2,500 pounds, show trust of our work.
Hope I got most of this right. There’s much missing, too.
Thanks all.
John